How do I send an initial notification from an incident?
As part of your customer service workflow, you may wish to send notifications to vendors when you open an incident.
Create an Incident Notification Email Template
Before sending your first email from an incident, there are a few steps you can take to reduce manual input. The first step is to create an email template to use.
To get started, follow these steps.
- Navigate to Settings and select Email Templates.
- Click on New.
- Select a Template Type from the picklist. Make sure to select incident-initial-notification as your template type. This will determine the default email body.

- Enter a From Email address. This is the address that will display as the sender of the email.

- Enter a From Name. This is the name that will display as the sender of the email.

- OPTIONAL - Enter any CC and/or BCC recipients to appear on the email.
- Select one or more Incident Reasons that this template will apply to. You are free to select multiple reasons for the same template.

Discovery allows for the creation of multiple incident notification email templates. This affords you the ability to create different templates for different incident types.
- Enter a Subject. This will appear on the subject line on the email.
- Customize the Body of the email.
Both the Subject and Body can be customized using variables. Including variables allows for incident-specific automation.
The following variables are available.
- {client_company_name}
- {Incident_expected_completion_date}
- {incident_hauler_case_number}
- {incident_number}
- {incident_occurred_date}
- {incident_priority}
- {incident_reason}
- {incident_reported_date}
- {incident_status}
- {incident_type}
- {location_address}
- {location_name}
- {vendor_account_number}
- {vendor_name}
- {area_description}
- {bin_quantity}
- {bin_size_metric}
- {bin_size}
- {bin_type}
- {pickup_frequency}
- {material_type}
Add an Incident Notification Email Address to a Vendor
To reduce manual entry, assign an Incident Notification Email Address to each vendor. When you create an initial notification for an incident, the Recipients field will automatically populate with the email address(es) saved on the vendor that provides the service for that incident.
To add one or more incident notification email addresses, follow these steps.
- Find your desired Vendor using either the Vendors Index or the global search.
- Click on the vendor name to open it, and then click Edit.
- On the vendor's edit page, scroll down to the Other Information section. You will see a field for Incident Notification Email Addresses.

- Enter up to 10 email addresses. Press enter, tab or comma to add multiple.

- Click on Save Changes.
Once you have completed the steps above, you are ready to send initial notifications straight from Discovery.
To do so:
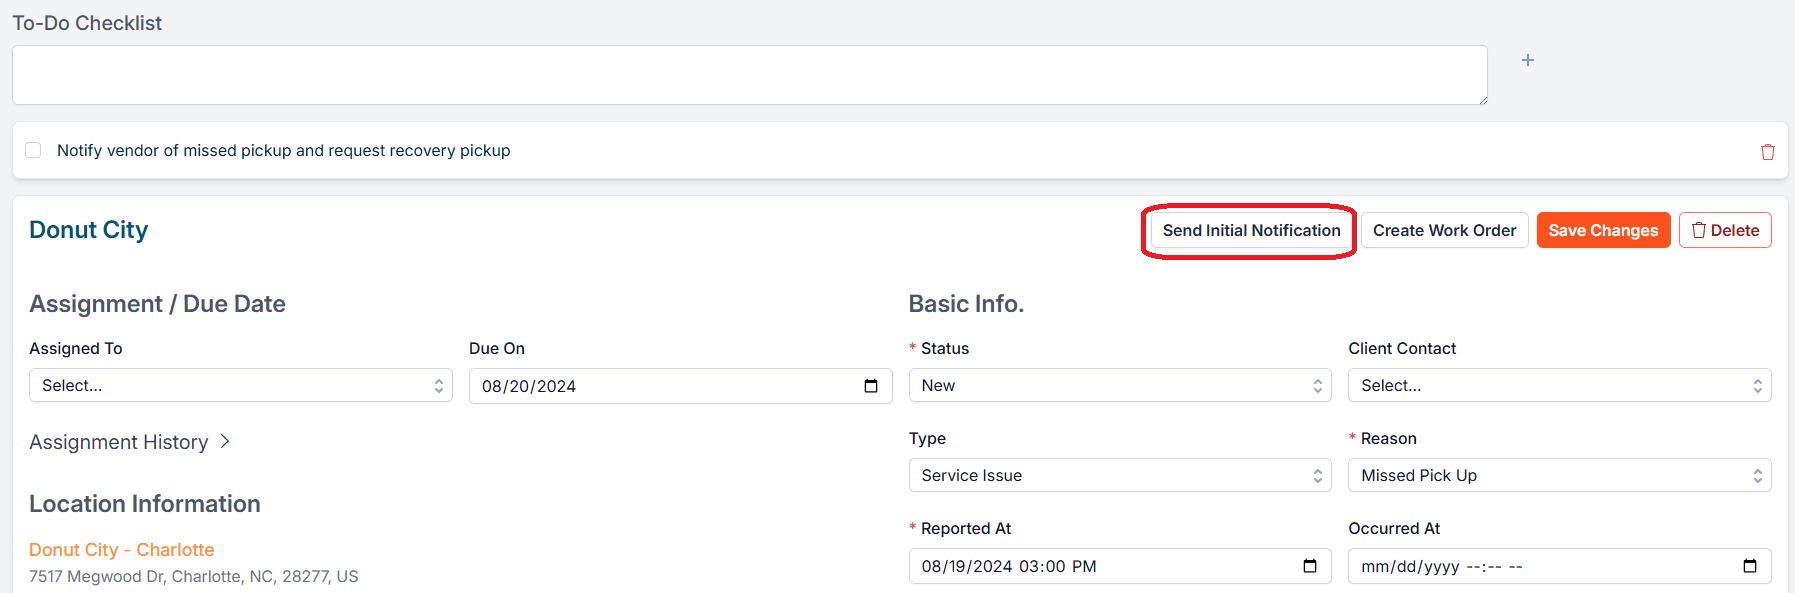
- Find your desired incident and open it.
-
On the incident's edit page, click on Send Initial Notification.

- You will then be directed to the Send Initial Notification modal. Each field will populate based on the settings we applied in our template and the vendor incident notification emails.

Notifications can be customized for each send. If a template is applied, the subject and body will be pre-filled from the template, but you can edit both before sending.
- Click on Send Notification.
- Upon sending, the initial notification will be timestamped.

- You can also view a notification history on the incident's Initial Notification tab.


If you have additional questions or need more in depth information, please feel free to send us a message using the help beacon in the lower right-hand corner.