
How do I open an Incident?
To open a new incident, please use one of the following methods.
Method 1: Via Incidents
- Click on Incidents.
-
Click on New.

-
In the Location field, begin typing the name of your Location. Choose your Location from the dropdown list.

-
Select your Service.

-
Select an incident Source from the dropdown.

-
Select the Type of incident from the dropdown.

-
Select a Reason for the incident from the dropdown.

-
Select an incident Priority level.

-
Assign the incident to an Employee contact in the Assigned To field. If there is no specific assignee, you may leave the incident unassigned.

-
Assign an incident Due On date.

-
Provide a First Comment (optional).

- Click on Create Incident.
Method 2: Via Service
- Click on Services.
- Use the Search and Filter options to locate and open your Service.
-
Click on Actions and then click on File Incident in the dropdown menu.

-
On the resulting incident creation page, you'll find your Location and Service are pre-selected.

-
Select an incident Source from the dropdown.
-
Select the Type of incident from the dropdown.
-
Select a Reason for the incident from the dropdown.
-
Select an incident Priority level.
-
Assign the incident to an Employee contact in the Assigned To field. If there is no specific assignee, you may leave the incident unassigned.
-
Assign an incident Due On date.
-
Provide a First Comment (optional).
- Click on Create Incident.
Method 3: Via Work Order
An incident can be opened from a work order. You can only create one incident per work order. To do so, follow these steps.
-
When viewing a work order, click on Create Incident.

- On the resulting incident creation page, fill in the necessary information and click on Create Incident.
Method 4: Via Vendor Invoice
You can open an incident while you review a vendor invoice, without leaving the invoice. Discovery fills in as much of the incident as it can from the invoice, and you can change anything it fills in.
- Click on Audit in the navigation.
- Use the Search and Filter options to locate your vendor invoice, then click on Edit.
-
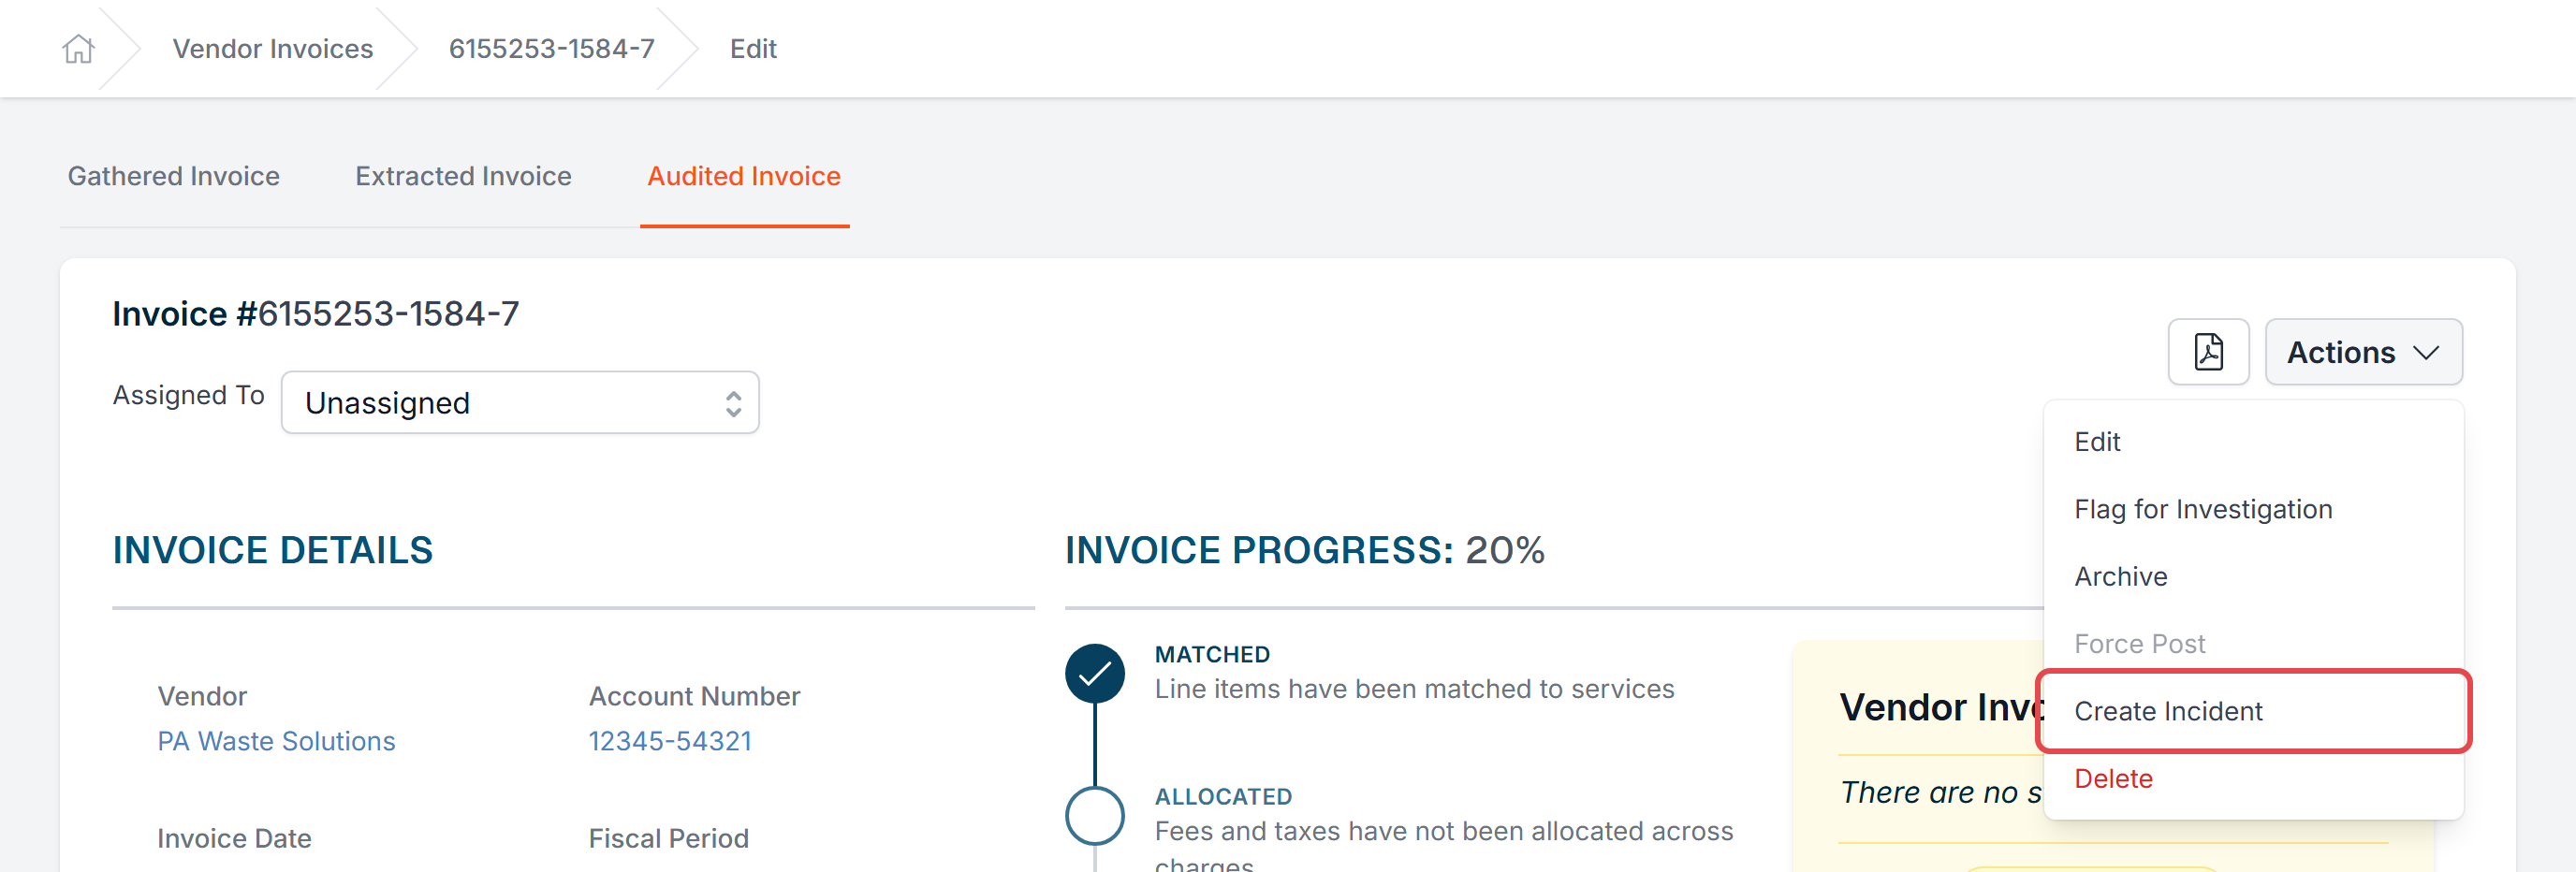
Click on Actions and then click on Create Incident in the dropdown menu.
-
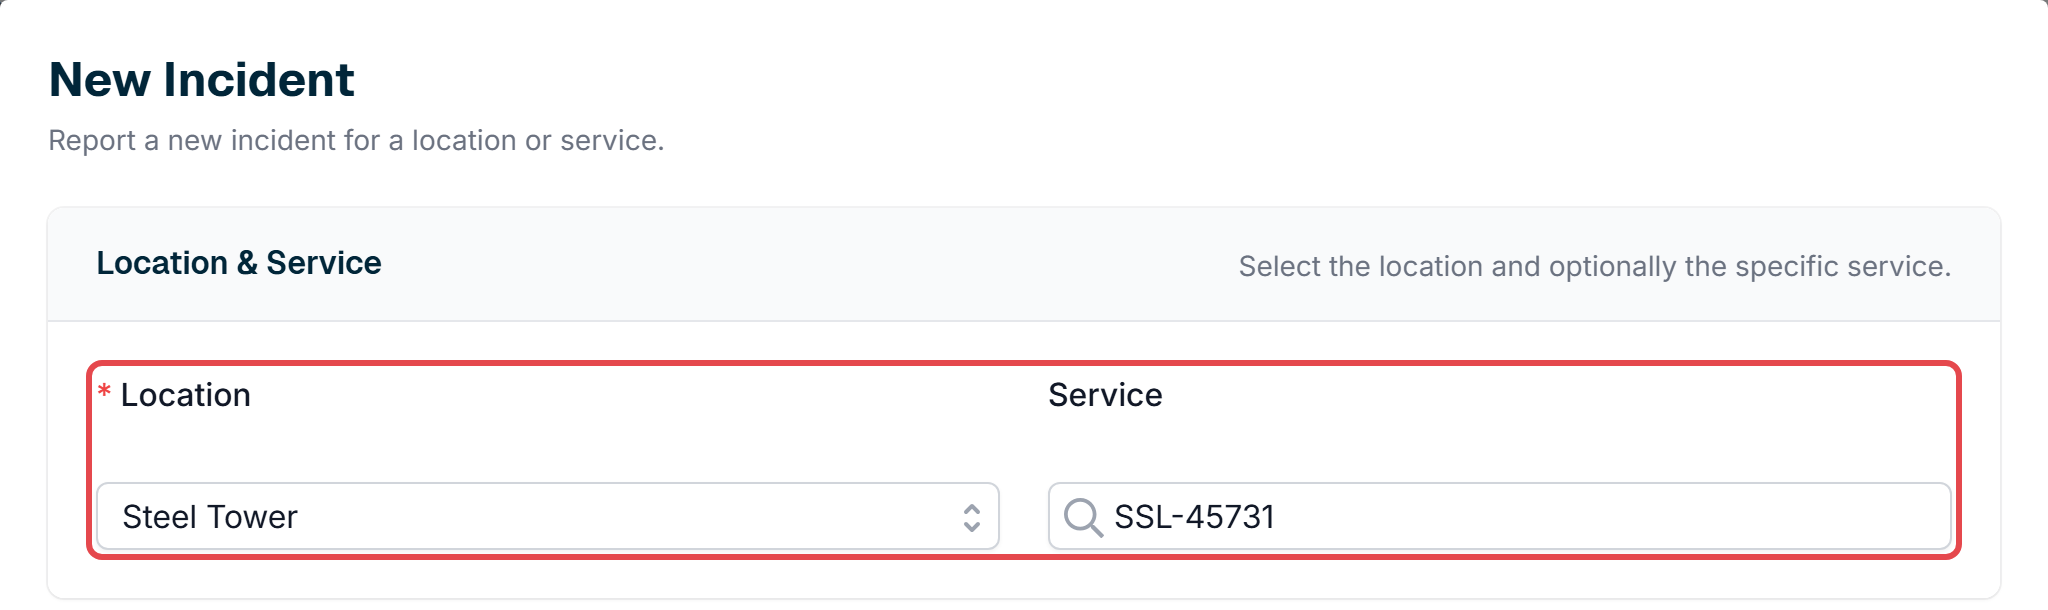
A New Incident pop-up opens on top of the invoice. Check the Location and Service. If the invoice bills only one location, that location is already selected. If the selected location has only one service billed on the invoice, that service is already selected too.
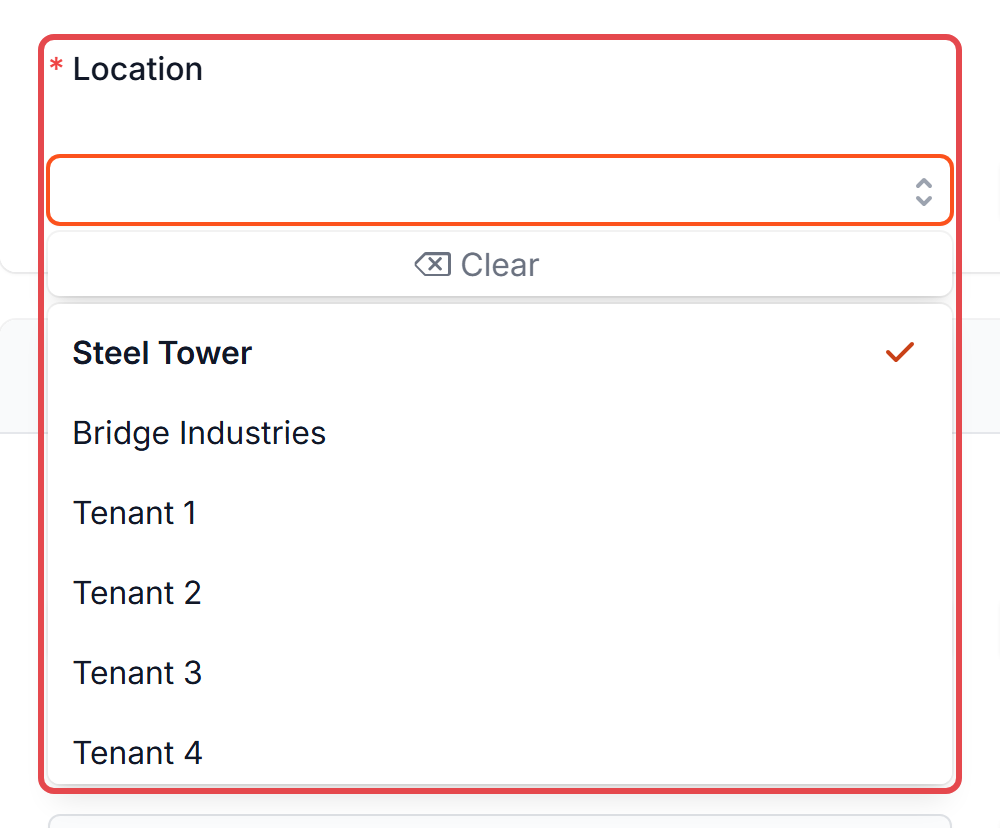
To choose a different location, open the Location dropdown. It lists only the locations on the invoice's vendor account, starting with the locations billed on this invoice.
-
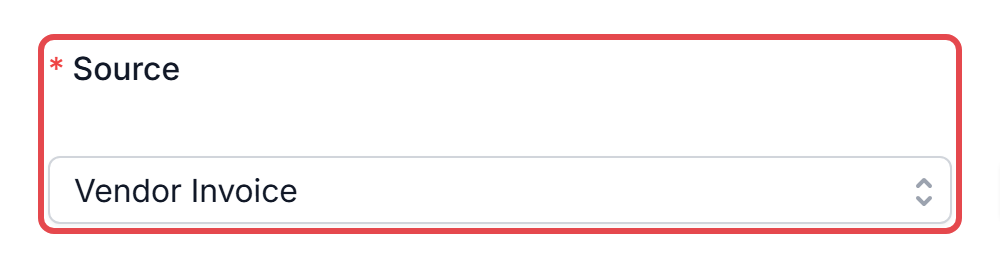
The Source is already set to Vendor Invoice.
- Select the Type, Reason and Priority, and fill in Assigned To and Due On as described in Method 1.
-
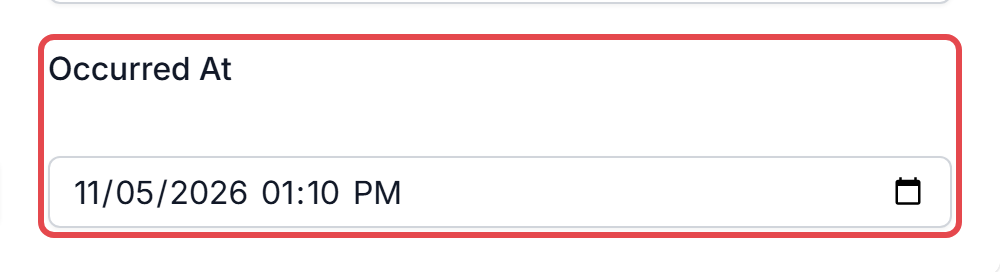
Occurred At is already set to the current date and time.
-
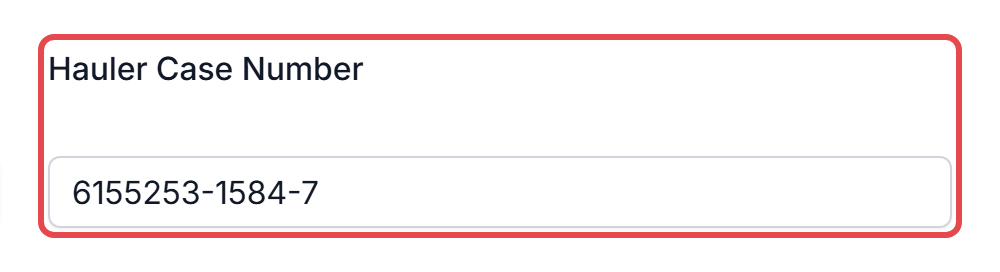
The Hauler Case Number is already set to the invoice number.
-
The First Comment already says which vendor invoice the incident was created from. You can add to it or change it.

-
Click on Create Incident. The pop-up closes and you stay on the invoice. A message confirms that the incident has been created, with a View link to open it.

The First Comment is saved to the incident's external Comments, which client users can see in the Client Portal. Edit it before saving if it shouldn't be visible to your client.
Create Incident stays greyed out until you change a field in the pop-up. If the invoice's vendor account has no services, the Location list is empty. Use Method 1 to open the incident instead.
If the incident's reason is set to show incidents on vendor invoices, Discovery keeps the incident's Expected Vendor Invoice Date inside this invoice's billing period, so the incident appears in the invoice's Incidents section. See Incidents on the Vendor Invoice Audit Page.

If you have additional questions or need more in depth information, please feel free to send us a message using the help beacon in the lower right-hand corner.