
How Do I Set Up Receipt Locations?
In Discovery, Receipt Locations are distinct physical locations where you may receive payment for Client Invoices. Each Receipt location must be associated with a GL (General Ledger) Account.
Note: A separate action to create GL Accounts is necessary before they can be associated with a Receipt Location. GL Accounts are managed on the GL Accounts tab under Settings → Accounting → Integration, which appears once an accounting system is set. With QuickBooks Online, they’re pulled from QuickBooks: click Refresh Accounts (the button only appears while Discovery is connected to QuickBooks). With QuickBooks Desktop, you add them by hand on the same tab. For more information, please review the How Do I Set Up a GL Account, Quickbooks Online Integration, or Quickbooks Desktop Integration documentations.
A Receipt Location is used to establish where a payment was made when a new Client Payment batch is created. To set up Receipt Locations, please follow these steps:
- 1
-
Go to Settings and select Receipt Locations in the left-hand menu. (This menu item only appears for tenants with Revenue.).

- 2
-
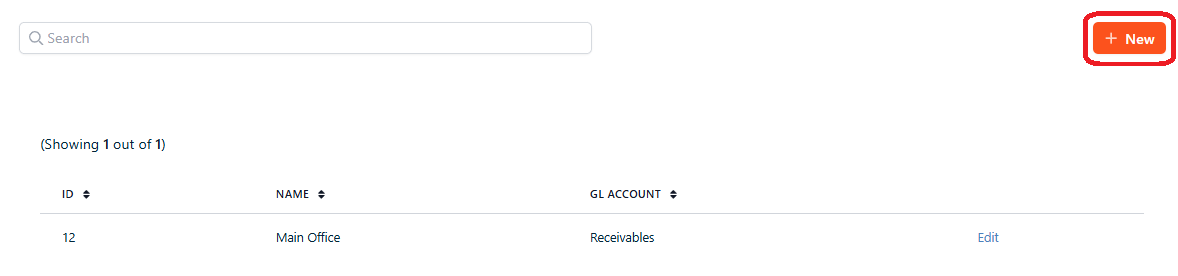
Here, you'll find existing Receipt Locations. To create a new Receipt Location, click on the New button.
- 3
-
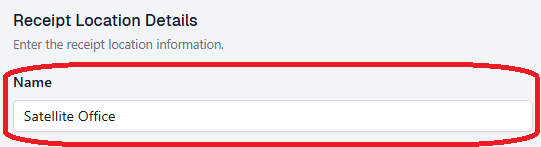
Provide a Name for this Receipt Location.
- 4
-
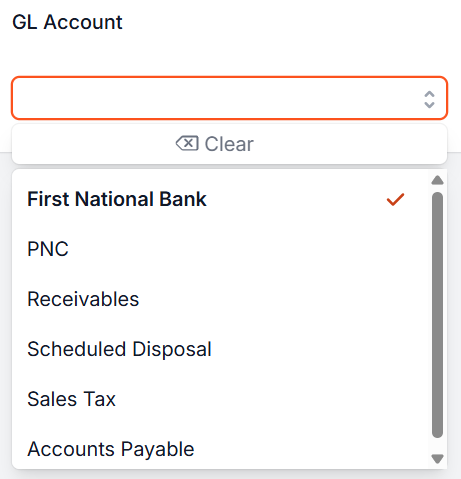
Make a selection from the GL Account drop-down menu.
- 5
- Click Save.

This new Receipt Location is now selectable when creating a new Client Payment batch. Each payment batch you record is posted to the Receipt Location’s GL Account in its journal entry. If you’re using QuickBooks Desktop and remove a GL Account from the GL Accounts tab, it’s also removed from any Receipt Location that used it. Choose a new GL Account for those Receipt Locations.

If you have additional questions or need more in depth information, please feel free to send us a message using the help beacon in the lower right-hand corner.